Blog design and digital scrapbooking elements created by Adori Graphics »
Showing posts with label updating house. Show all posts

Saturday, April 13, 2013

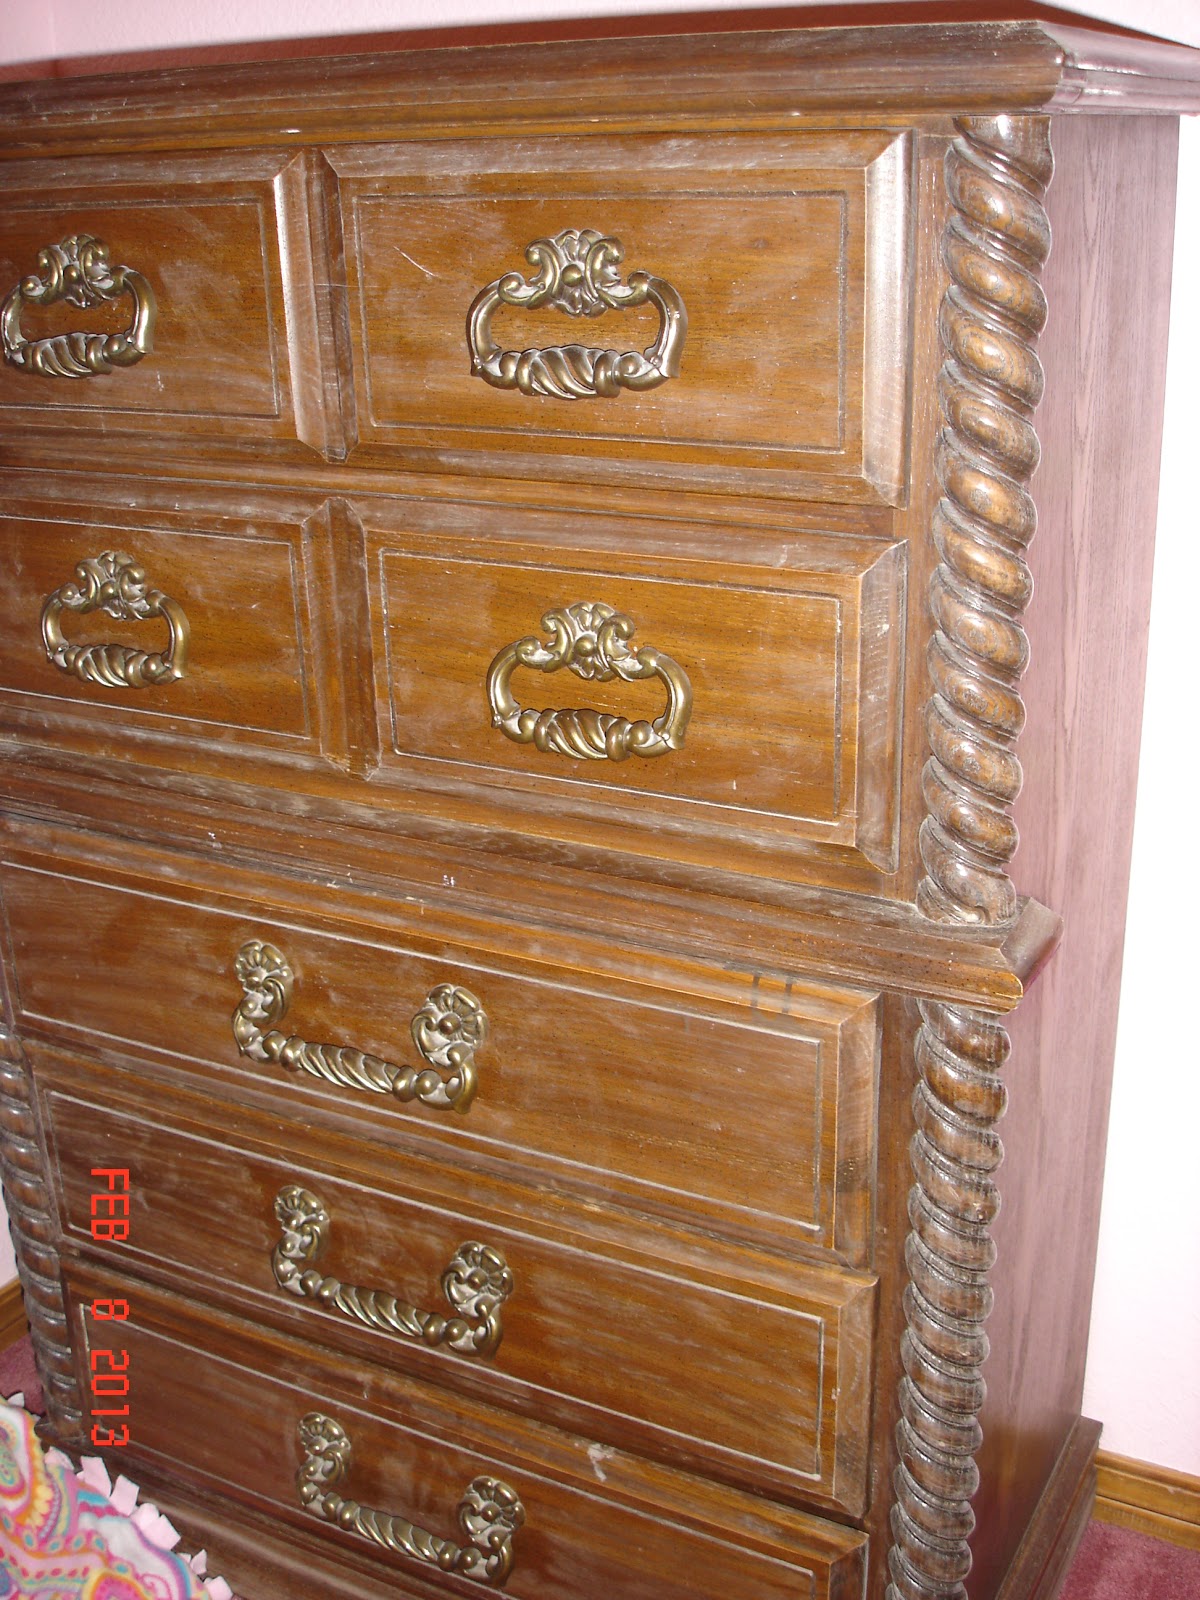
Remake of Ken's dresser


Kennedi's dresser and night stand was a hand me down from us, which was a hand me down from my grandmother. I decided that it could use an update.  I forgot to snap a picture of the before, but here is it after I sanded it down.  It was made out a solid wood, but is had this slick plasticy finish on it, so I found some primer that says it sticks to any slick surface.  Bulls-eye 123 Primer.  The primer said it didn't need to sand, but I did any way for good measure. I let it dry for 24 hours and then painted the base coat a shade of lilac.

I then glazed the dresser and nightstand with a dark coffee brown.  If you haven't used a glaze, try it! It's so easy!  Just paint on, and rub off with a dry cloth.  Rub off how much you want until you get the look you're going for.  Leave extra in the creases and cracks!

Lilac painted night stand.  I won't talk about the dust I found when I removed the drawers. 

Finished product! Much better, don't you think?


Found these awesome knobs and pulls at Knob Deals. If you haven't shopped for hardware, beware, it's very expensive--especially cute kids' hardware.  We're talking $8-20 bucks a knob or pull.  I got the butterfly (and it's large=2 inches in diameter!) for less than $2.00 a knob.  The pull is glass--less than $4 a pull. 

The primer says for full cure takes 7 days. I didn't wait for the 7 days before I put it back into her room.  I noticed a chip on Kennedi's nightstand afterwards, so I went ahead and put three coats of polycrylic on everything a few days later.  Six weeks later and so far, so good! It's holding up well to my 6 year old!

Friday, April 12, 2013

Four & Five Rooms Down!

We finally put in our flooring in the living room, halls, and Andrei's room over spring break.  We used laminate flooring, mainly because it's what our budget would afford and because it does better with water than engineered or real hardwood.  And when you have 3 children under the age of 8, that's a biggie!  Laminate floors have come a LONG, LONG way since the last time we installed them nearly 7 years ago. They actually look like real hand scraped wood!  I ordered these from Floors To Your Home and we LOVE them! They gave us free shipping since we ordered so much.  Whoo Hoo on that since it was over 2000 pounds! They already came with underlayment attachment, but noise reduction was a major for me, so we put down Floor Muffler as an additional underlayment. 

I don't like quarter round, so I pulled off every baseboard by my little bitty ole self.  We really needed to reuse the baseboard as it would be difficult to match the stain with everything else in the house.  The last time Doug pulled off baseboard, he had to buy a lot to replace all the damages (remember, he's a quicker and faster sort of guy), so I told him hands off this project.  With my trusty crow bar, hammer, and dry wall spatula and lots and lots of patience, I removed 54 pieces of baseboard with only one slight casualty that was easily glued.  I need a sticker on my sticker chart! (Of course, it was my handy dandy husband who nailed them back!!) By the way, in case this is on your own to do list in the future, it is IMPERATIVE that you number each piece of baseboard and number the wall where it came from.  Otherwise, you're going to have a frustrating puzzle ahead of you when you go to putting it all back. 

Yes! I have BEFORE pictures!
Living Room before.  Those are dusty, nasty lace curtains heaped on the carpet. (Our home had been vacant for nearly 3 years...) This picture was taken the day after the pest control guys came.  You can't see them, but there are about 100 dead spiders.  It was pure carnage...)

Andrei's room before.  You can see the reminant of hunter green window blinds I had already torn off the windows.


Living Room After

Andrei's Room after


Tuesday, April 9, 2013

Three Rooms Down!

Annsley's room is finally finished (minus the carpet...) Again, no before photos, but it was a replica of Kennedi's room...beige walls, broken plastic faded venetian blinds...

A wall of giant paisley stencils! Cutting Edge Stencils has great stencils! (Gee, how many times can I use the word stencil???)


Crackled her laminate dresser. Valspar Crackle is a wonderful product!  I took her old knobs and glued over 500 little jewels over them. (And then I spent 2 hours peeling the glue off my fingers thank you!) I think it turned out awesome for a little girl!

Thursday, March 21, 2013

Tiling Saga--Part 1

As I previously posted, my dad came over to help us with tiling the girls' bathroom.  He suggested we lay the tile on the diagonal.  I said OK--as long as he was going to help because that was way above my pay grade and perhaps more importantly, my tiling book did not cover that particular lay out.  He and Doug tiled the floor in one day as I wrangled to keep the 3 kids out of their way.  My dad was on his hands and knees placing the tile and Doug was the one making the cuts with the tile saw.  About mid day, Annsley puts her hands on her hips and thoroughly disgusted with her daddy says, "Why won't you help Grandpa? He's doing all the work!!!!)  I guess in her mind if you weren't actually in the bathroom, you weren't working!

The day of Andrei's birthday party was actually quite warm.  After everyone left, Doug looks at me and says, "Hey, you want to get started with the tile?  It's warm and the tile saw won't freeze."  (If you don't already know, a tile saw uses water to cool the blade.)

I should have said no.  I was sick.  I had enough snot running out of my nose all morning I could have swum in it by the end of the day.  Doug loved the diagonal tiles and wanted to continue the theme in our bathroom and kitchen--you know, to make it look cohesive...  (I obviously have a husband who has watched too many episodes of HGTV with his wife...)

We needed my dad here--if for no other reason to act as foreman.  My dad is like this McGyver turned farmer person.  He can make a CB radio out of 2 Q-tips, a dime, and a pencil.  (I don't know if that is even a remote possibility, but really, he can do just about anything....)  He is also a perfectionist.  If it's not done correctly, he'll redo it.  Seriously.  No matter what it is and how long it took him to do it in the first place.

But no, he's not here and I have an over exuberant husband about to embark on a diagonal tiling job with a sick wife. Now, my husband can do a lot of stuff.  He's a rather handy guy to have around, and he's not afraid to attempt to do something new (which is good when you have a wife who likes to watch HGTV and DIY channels.) Doug is quite accomplished with a welder; he can wire light fixtures, new light switches (although he will not turn off the breaker.  "Real electricians don't do that.  Besides, how could I tell which wire is hot?" he says to me. OK, well don't call me to come get you when the electricity pulsing through that hot little wire tosses your big body off the ladder.  His step dad was a carpenter by trade, so he knows a lot about sanding, staining, hinges and glue.  Doug loves glue by the way.  Everything is better--and stronger--with glue.  No. Matter. What. It. Is...Oh the stories I could tell about that product and 22 years of marriage! He can change spark plugs in your car; he can dig big holes; he can drive big, earth moving machinery; he can do the plumbing; he doesn't mind climbing on the roof and hanging Christmas lights.  But let's remember, Doug is KING at demolition.  He loves tearing stuff up. Loves it. 

Loves it.

 Anyway, finesse is not his strong suit. He knows that and I know that, and he knows that I know that.  His number one desire in life is to be fast and finish first--looks are secondary in the moment.  It's speed.  Speed is king.  He shoots first and then decides to aim.  I'm the opposite, so we usually can make a pretty good team. He's like all those men you hear about.  It's not about getting to Dallas safely and having a good time.  It's about beating your last time you drove it.  Yes, he's the guy tapping his finger on the steering wheel as you and your two girls are waiting 10 deep to use the bathroom at the highway Stop and Rob. (And tell me again why you can't just use the empty Gatorade bottle in the back? he always asks!!!)

Case in point: when my parents were remodeling their kitchen, Doug gleefully takes his new pawn shop find--a sawzall--  over to their house to see if he can help with the demolition. This is a reciprocating saw that does what it names says--saws all. He is assigned to ripping out one of the walls--a specialty of his.   According to the ones who lived there, my step mom and sister were in the middle of emptying the cabinets when this saw blade from the other side of the wall appears above their heads.  It's all they can do to throw pots and pans, cereal, and Spaghetti-Os into plastic containers to keep ahead of the saw that is trying to eat them. Doug sawed the 2x4s, insulation, cabinets, sheet rock, electric wires, boxes of Uncle Ben's Rice--anything that was in his way.  But the job was done.  And hours ahead of schedule he would later add....

So, with this mentality, a box of Kleenex stuffed up my nose, and hours of DVDs to entertain 3 children under the age of 8, we embark on the great tile quest of 2013. 

 Part 2 to be continued...

Tuesday, March 19, 2013

Two rooms down!

Kennedi's room is finished! (Except for the purple carpet which I don't count because I won't be having anything to do with it except picking it out!) I don't have any before pictures, but it was you basic beige walls with plastic broken, sun stained mini blinds. I decided to do Kennedi's room first as she is always behind her sister (hand me downs, having to go to bed first, etc.) She was excited when her room was finished, but now she is moments of pouting as she sees Annsley's room coming together.  It  not that Annsley's room is better--it's just "newer" and therefore better.  I might have shot myself in the foot with this brilliant idea...


From brass to white! Much better!


Stencil that sums up our Kennedi!!

72 butterlflies, 13 dragon flies...note to self: USE A STAMP NEXT TIME!!

The bunk beds that will eventually go to Andrei when we move him to a big boy bed.  Kennedi is not so patiently waiting to inherit Annsley's castle head board.

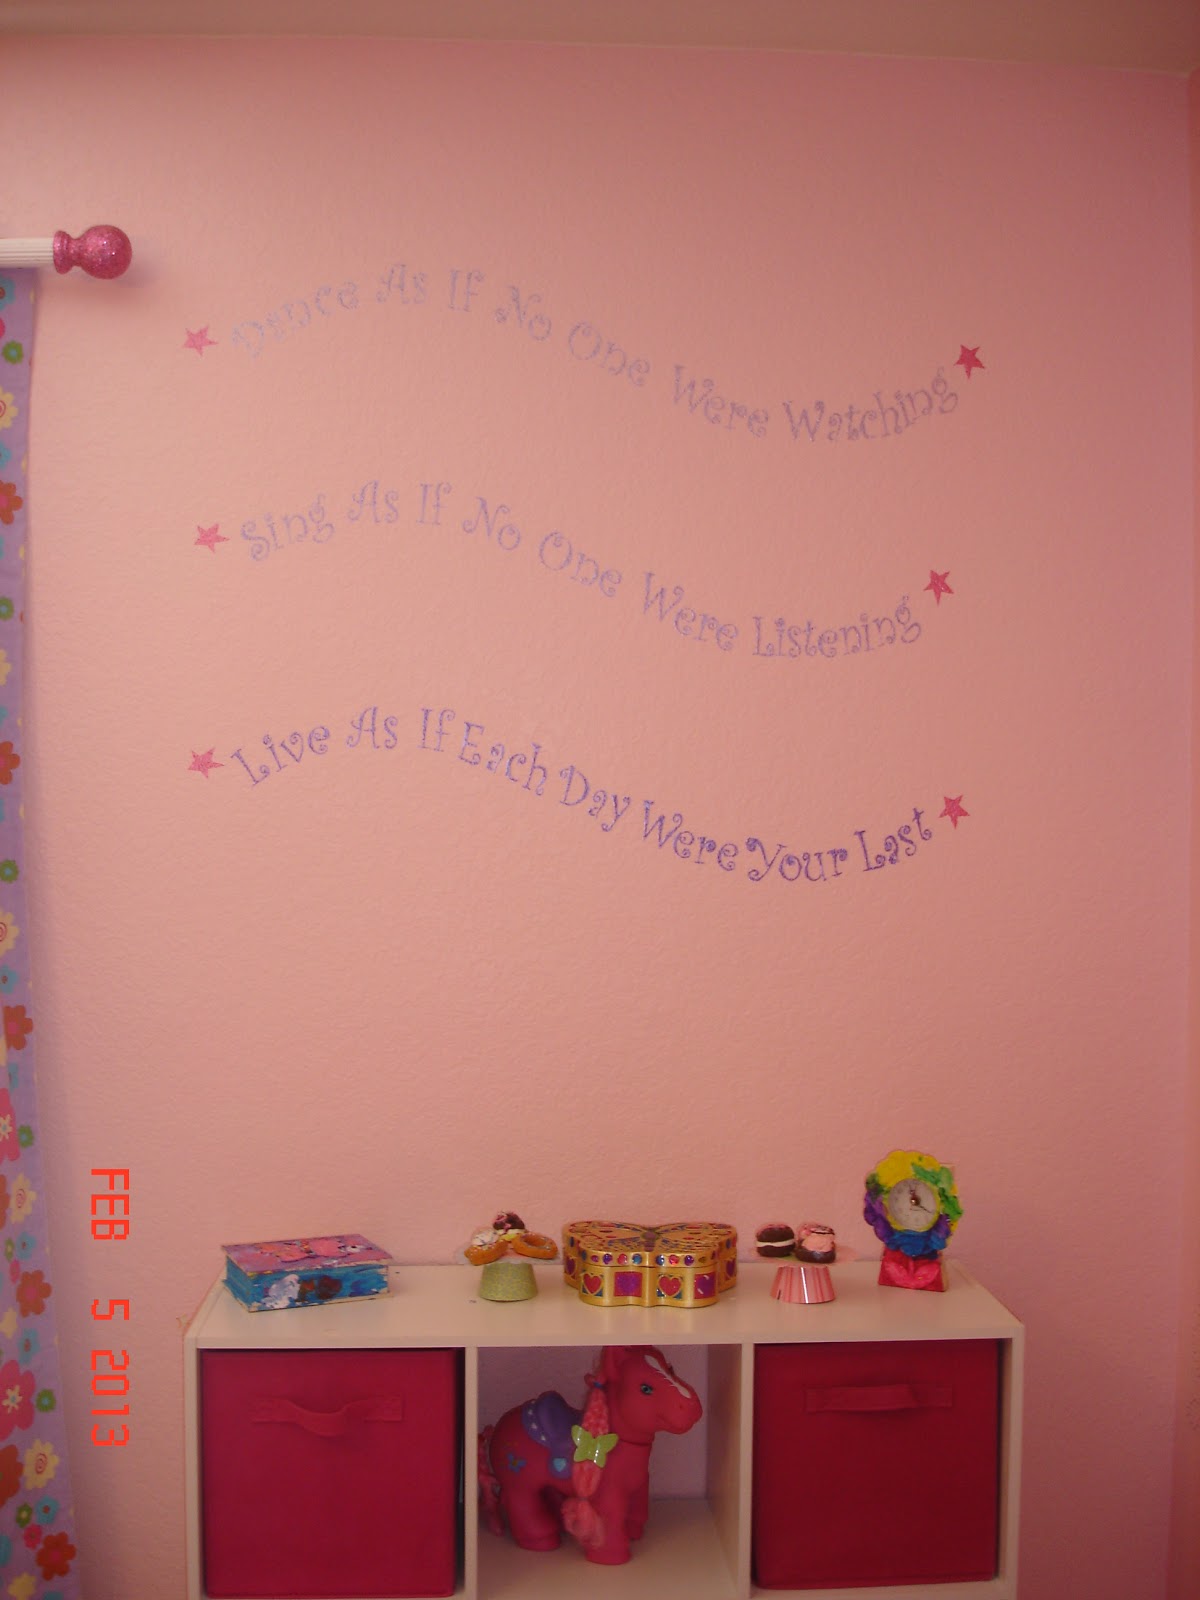
New drapes made by moi with black out lining (so Kennedi will sleep).  Kennedi picked out the fabric.  I think she did rather well, don't you?


Peel and play fabric decals.

The peel and play decals are awesome.  I found them at Mona Melisa Designs. Awesome stuff!! They have such cute murals, growth charts, and these play decals--especially for boys--Andrei will be getting some when he gets older! They are around $80, but if you go to their Facebook page, they have a store there which sells the "slightly irregular" things.  I got this set for $20.  And I can't tell what's wrong with it.  I bought a Christmas tree peel and play set on clearance for $15 which the kids can decorate next Christmas

Tuesday, March 5, 2013

One room finally down!

I can say we have one room completely finished to date: the kids' bathroom.  I can't tell you how awesome it is to spend time in there! LOL I will often just take my cup of coffee in there and sit on the vanity and just relax.  There isn't sheetrock dust, cement foundation floor, or paint cans to look at in there.  What a way to relax!  Let me just say, I have no idea how people stay sane with remodeling projects that go on for years!

My dad came over and helped us lay the tile in the bathroom.  Andrei saw him with his measuring tape out, so he runs to find his.  He about knocked me down getting back to the bathroom.  "I gotta help Gan-pa!" he says as he shoves me out of his way.  He's VERY aggressive when he thinks he needs to be "helping". 


Here are some before and after pictures of our bathroom.

Before with striped wall paper and border and purple carpet.

Nice Hollywood light fixture with brass detailing and rusted squeaky towel bars.

New light fixture.  Found an awesome website for lighting fixtures.  To find one that was as long as I needed, I was looking at spending over $100 easily.  Scored this one for $30! Got our dining area chandelier for only $42!

A little vinyl lettering.  (Not too much fun to put up since our walls are textured...but it looks great!)

Awesome looking tile floors, new drawer and cabinet pulls, and plenty of monkey stuff!

Yes, I got out my sewing maching and made the valance.  Just call me Susy Homemaker! Just don't look too closely at my less than straight stitching...hmmmmm I did not make the shower curtain!


Moved the light switch.  Our wires are covered at the time of this writing.  I'm just excited that everyone has a place to put their towels now.  Bathroom hardware is SEROUISLY underrated!!!

When we moved the door, palm tree #2 was chopped down (literally), so this was painted in its place.


Annsley made me turn her into a girl snake--with eyelashes!


Thursday, February 28, 2013

Bye Bye Ceiling Fan Brass

As promised, here is a post about some of the updates going on around here.  I know you've been biting your nails waiting for this!

All of the ceiling fans in this house were stuck in 1990.  Brass was popular.  Brass was shiny.  It was in. I've since decided that I don't like shiny and bright staring down at me from the ceiling.  I was not going to spend hundreds of dollars to replace the ceiling fans, so I splurged on some paint.

Nothing short of incredible transformations I must admit.  I used spray paint and a new product I had never used before called Sophisticated Finishes.  This stuff is awesome, by the way.  The product comes in many colors, you can get the antique or rust look by appyling their patina colors.  It has real metal in the paint, can be used indoors or outdoors, and a little 4 oz bottle ran me less than $10 at Michaels with a coupon. 

I spray painted Kennedi's ceiling fan and our bedroom fan; I used the Sophisticated Finishes and brushed on the paint on Andrei's and our living room fan.  I still have Annsley's fan to update.  Spray vs brush on?  Brush on was SO MUCH EASIER!  It was less messy by far and I didn't nearly pass out because of the fumes.  The con would be you don't get that super smooth look that you do from spray paint, but in my opinion, you only notice that if you get super close (and I don't know anyone who is going to get a step ladder to check out my paint jobs anyway.)

Here are some pictures and the tale of my spray painting woes to go along with.  (Remember, I'd share the ugly with you too...) I sanded everything that was going to be painted but I didn't use primer.  If I'd been painting over something that was going to get touched alot, I'd do it differently.  But really, how often do you get up on a ladder and finger the metal of your ceiling fan?

Ceiling fan that came with the house.


I took down the blades, arms, and gave everthing a good cleaning with soap and water.

Sophisticated Finishes in Blackened Bronze, coat #1.  Doesn't look very promising at this point...

Painting the arms.  Use a smooth foam brush for less paint lines!


Coat #2...still having problems but getting better.

I flipped the ceiling fan blades over to the darker espresso finish.  With a third coat of paint, ceiling fan looks AWESOME!

Kennedi's fan with gobs of paper hung around it to catch the overspray. It took longer to protect the stuff I didn't want to have semi-gloss white on it than it took me to actually spray the fan.


I taped off one side of the fan blades because I was going to paint one side satin white and the other a rainbow of colors. 
  Now, at this point, Kennedi's ceiling fan update is going well.  I've managed to spray paint her fan blades a different color (green, pink, yellow, purple, and orange) and I have waited 24 hours and have flipped them over to paint the other side white.  I have my fan blades out on the driveway on top of newspaper.  It is a calm day.  I spray them.  I wait 10 minutes.  I spray coat #2.  I go inside to wait.  I all of a sudden hear a gust of wind roar outside.  Not good.  I go out to the driveway and two of my fan blades are flipped over and the the newspaper is sticking to them.  They will now have to be stripped.

I find some old paint stripper in a box and wipe them down with it.  Unfortunately, some of it bleeds over to the "good" side, so the orange and yellow side will have to be repainted as well.  I scrape off the paint, and clean them up. 

Now it is day #3.  I start with the colored side.  I obviously did not get all the stripper off because within 30 minutes, the newly painted orange and yellow are showing cracking and splitting of the paint.  Great.  I scrape that off and clean them again. 

Now it is day #4.  I spray them again.  They are not looking as great as they did the very first time, but at this point I'm getting a bit ticked and don't care.  I'm beginning to feel like I'm being held hostage by her fan.

Day #5.  I turn the blades over and spray the other side white.  15 minutes after spraying coat #3 I noticed this:
Somebody has stepped on my newly painted fan.  To this day I can't identify the foot print, but I'm still looking....
Instead of stripping them AGAIN, I just layer on the paint to make them somewhat smooth.  At this point I'm more than willing to fork out the $15 bucks for new fan blades...


Kennedi's fan finally finished after 6 long grueling days...


My favorite ceiling fan: our bedroom fan spray painted with hammered silver spray paint.  I just flipped the blades over to the darker side. 
 
Free blog design by Adori Graphics using the Safari Sam digiscrapping kit by Adorible Digital Designs